Integrating AWS IAM with Kubernetes (EKS)
Kubernetes has its own RBAC (Role-Based Access Control). But if you are in AWS, then there are also IAM roles with policies. If your Kubernetes containers need access to other AWS services then the solution in EKS is binding IAM roles to Kubernetes service accounts.

Image Credit: Amazon AWS
AWS IAM does not know about Kubernetes RBAC and Kubernetes RBAC does not know about AWS IAM.
AWS IAM vs Kubernetes RBAC
AWS Identity Access Management (IAM) is how access to services is provided in AWS. Let’s say, for example, you wanted an EC2 instance to have access to read a private S3 bucket. You could create an IAM role that has an EC2 trust relationship with a policy that allows it read from the S3 bucket and you would assign that role to the EC2 instance. This would allow that EC2 instance to read from the S3 bucket. No matter which user or what process was on the EC2 instance, they could read from that S3 bucket because the role attached to the EC2 instance provided that access.
Inside Kubernetes, there is RBAC. RBAC is a bit more primitive than AWS IAM. But there is a certain elegance in its simplicity. To form an equivalence with the above AWS IAM example, within the Kubernetes environment, Kubernetes RBAC also has roles. Each Pod is run under a service account which can have roles attached to it that carry with it certain permissions.
AWS IAM does not know about Kubernetes RBAC and Kubernetes RBAC does not know about AWS IAM. So, EKS provided a solution that allows its Kubernetes service accounts to attach to AWS IAM roles; it’s basically a bridge between AWS IAM roles and Kubernetes RBAC.
How AWS IAM EKS Integration Works
Unlike a role assigned to an EC2 instance, roles assigned to EKS Pods are not actually attached to the Pods.
Needless to say, attaching an AWS IAM role to Kubernetes Pods inside EKS works a little different than attaching an AWS IAM role to an EC2 instance. First off, as mentioned above, the AWS IAM role is not actually attached to a Pod or a Job or a Deployment (which, BTW all result in Pods running one or more containers). Instead, the AWS IAM role is attached to a Kubernetes service account, which is then attached to one or more Pods.
The role attached to the service account also has a different trust relationship than the role that would be attached to an EC2 instance. For EKS IAM Roles attached to service accounts, the trust relationship uses an OIDC provider with a condition that links it to the specific EKS service account. Additionally, the EKS service account is annotated with its AWS IAM role.
When a Pod is created in EKS under the service account with the attached IAM role, 4 environment variables are injected into the Pod.
- AWS_DEFAULT_REGION
- AWS_REGION
- AWS_ROLE_ARN
- AWS_WEB_IDENTITY_TOKEN_FILE
The first 3 environment variables are pretty self-explanatory. The fourth environment variable is a file containing a web token that can be used to get temporary credentials that allow the Pod to assume the role specified in the AWS_ROLE_ARN environment variable.
You see, unlike a role assigned to an EC2 instance, roles assigned to EKS Pods are not actually attached to the Pods. They are just included with metadata that allows the Pods associated with the attached service account to assume the role. This makes the process a bit more complicated, but it also keeps EKS a more pure Kubernetes environment. Also, since the AWS IAM role is temporarily assumed instead of being automatically applied, there is some added security if the entrypoint on the Pod is somehow compromised.
Example: Providing EKS Pods Read Access To a Private S3 Bucket
For this example the following tools will be used in addition to the AWS Console and S3 + EKS services.
1. Create The Service Account in EKS
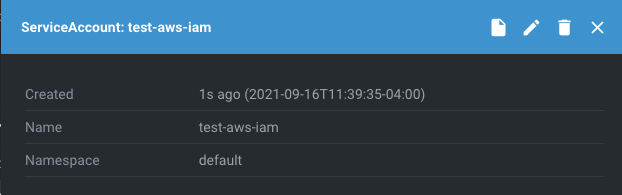
For simplicity’s sake, let’s use Lens to create a service account in the default namespace. We’ll call it ‘test-aws-iam.’
- Open Lens and select your EKS cluster from the catalog.
Note: It is assumed that you have access to your EKS cluster from your workstation via kubectl.
- Select Access Control > Service Accounts and Click the + sign.
- Type ‘test-aws-iam’ and click ‘Create’ to create the new service account in the default namespace.

2. Create an OIDC Identity Provider
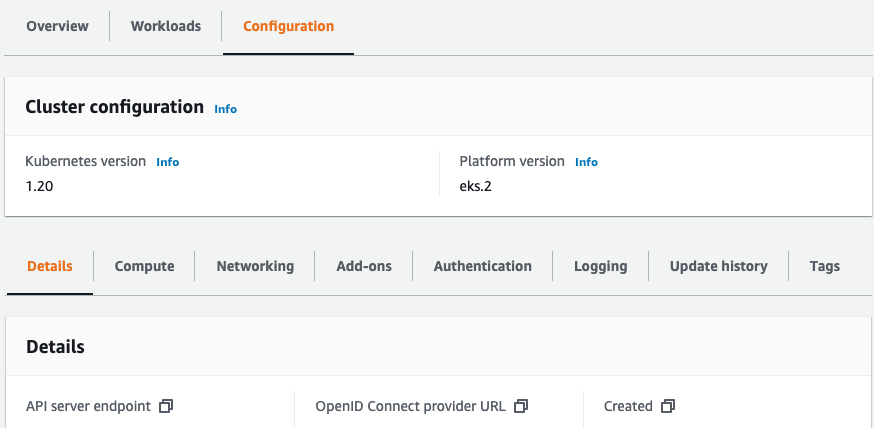
- Open the AWS Web Console and navigate to EKS Clusters.

- Select your EKS Cluster and click on the Configuration tab.
- Copy the value of your OpenID Connect provider URL
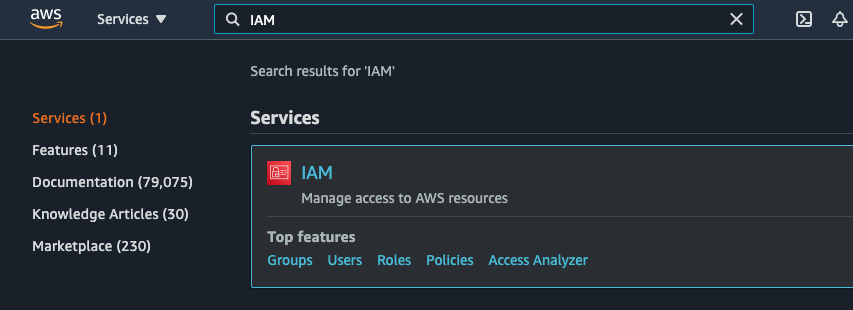
- Navigate to IAM in the AWS Web Console.
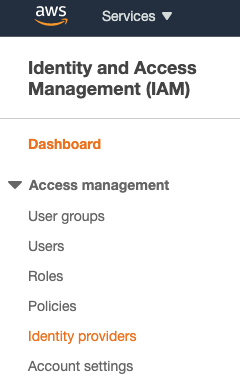
- Select Identity Providers from the left sidebar menu.
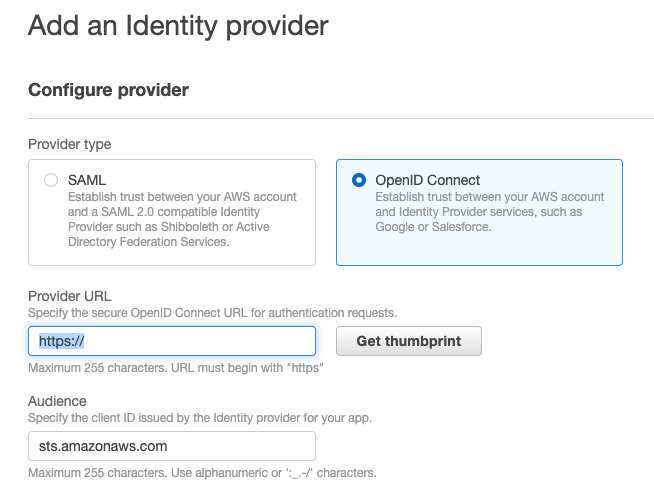
- Click the Add provider button.
- Select OpenID Connect.
- Paste the value you copied in step 3 (above) into the Provider URL field and click Get thumbprint.
- Enter
sts.amazonaws.comin the Audience field and click the Add provider button.
3. Create an AWS IAM Role
- Navigate to IAM Roles in the AWS Web Console and click the Create role button.
- Select Web Identity.
- In the dropdown below, select the OIDC provider you just created (it starts with
oidc.eks).
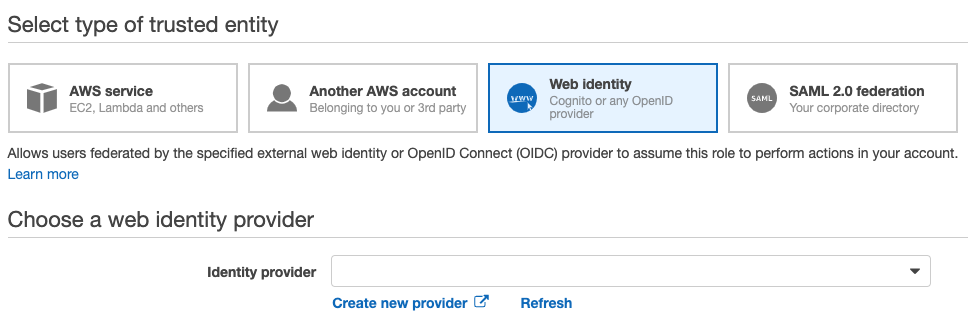
- Select
sts.amazonaws.comfor the Audience. - Click the Next: Permissions button.
- Click the Create policy button.
- In the JSON tab, paste the following and change _
_ to the name of your S3 bucket.
{
  "Version": "2012-10-17",
  "Statement": [
    {
      "Effect": "Allow",
      "Action": [
        "s3:GetObject"
      ],
      "Resource": [
        "arn:aws:s3:::<my-bucket>/*"
      ]
    }
  ]
}
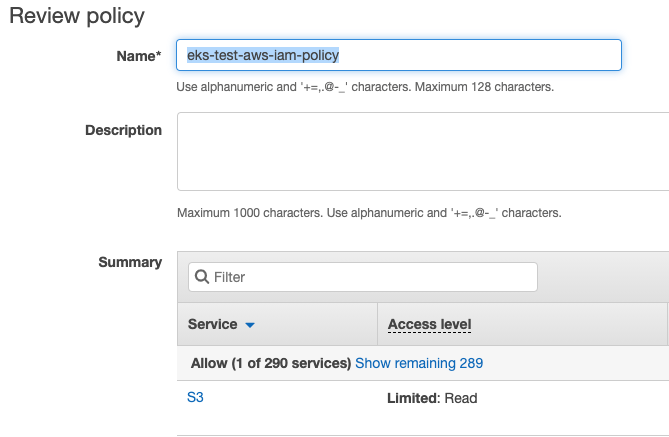
- Click Next until you reach the Review Policy screen.
- Enter eks-test-aws-iam-policy for the policy name and click the Create policy button.
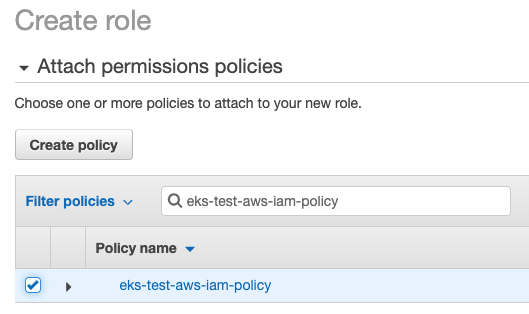
- Go back to the Create role tab and click the refresh button.
- Type eks-test-aws-iam-policy in the search box and click the checkbox to the left of the policy.
- Click Next until you reach the Review role screen and enter eks-test-aws-iam-role for the role name.
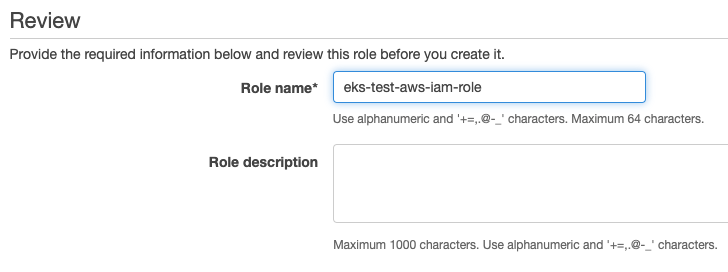
- Click the Create role button.
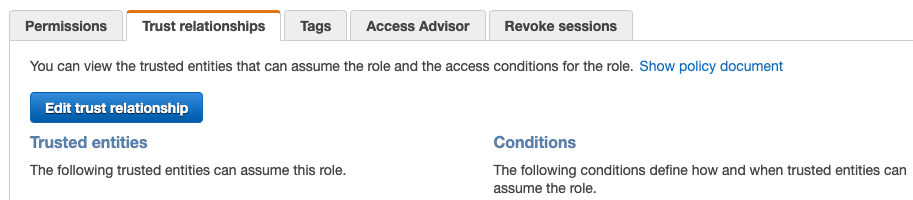
- Once the role is created, click on it to open and select the Trust Relationships tab.
- Click the Edit trust relationship button.
- Find the line that looks like
"oidc.eks.region-code/id/EXAMPLED539D4633E53DE1B716D3041E:aud": "sts.amazonaws.com"and change it to look like"oidc.eks.region-code/id/EXAMPLED539D4633E53DE1B716D3041E:sub": "system:serviceaccount:default:test-aws-iam"
4. Annotate The Service Account With The AWS IAM Role
- Go back into Lens and select your EKS cluster from the catalog.
- On the left side navigation bar, select Access Control > Service Accounts.
- Select the test-aws-iam service account and click the edit button.
- Add in the annotation as follows, replacing
with your AWS account id.

- Click the Save & Close button.
5. Test It!
- In Lens, on the left side naviagation bar, select Workloads > Deployments.
- Towards the bottom of the screen, click the + button to create a new resource.
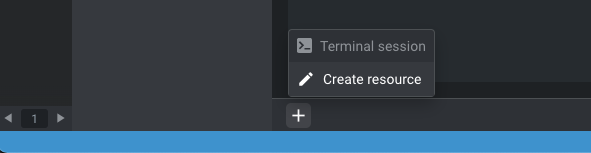
- Select Deployment.
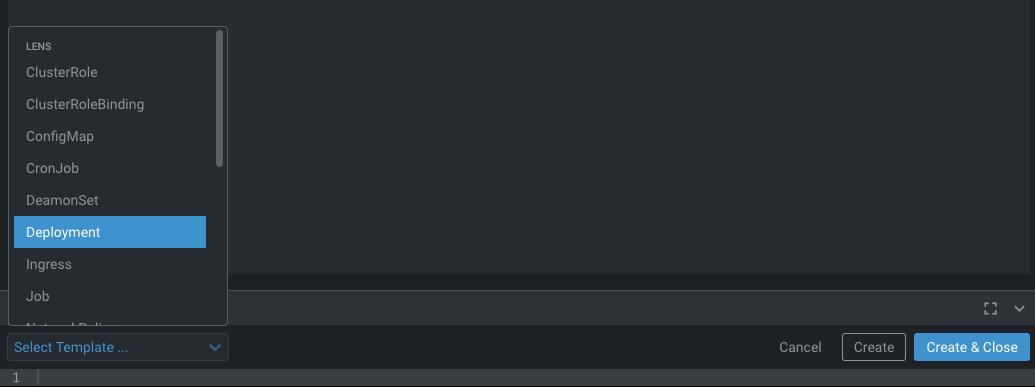
- Change the deployment to look like the following.
apiVersion: apps/v1
kind: Deployment
metadata:
  name: nginx-deployment
  labels:
    app: nginx
spec:
  replicas: 1
  selector:
    matchLabels:
      app: nginx
  template:
    metadata:
      labels:
        app: nginx
    spec:
      serviceAccountName: test-aws-iam
      containers:
      - name: nginx
        image: nginx:1.14.2
        ports:
        - containerPort: 80
-
Click the Create & Close button.
- On the left side naviagation bar, select Workloads > Pods.
- Select the Pod that looks like
nginx-deployment-xxxxxxxxxx-xxxxx. - Click the Pod Shell icon at the top.

- In the Pod shell, type the following to temporarily assume the role.
apt update
apt install -y awscli
apt install -y jq
AWS_TEMP_CREDS=$(aws sts assume-role-with-web-identity --duration-seconds 3600 --role-arn $AWS_ROLE_ARN --web-identity-token $(cat $AWS_WEB_IDENTITY_TOKEN_FILE) --role-session-name "app1")
AWS_SESSION_TOKEN=$(echo $AWS_TEMP_CREDS | jq -r .Credentials.SessionToken)
AWS_ACCESS_KEY_ID=$(echo $AWS_TEMP_CREDS | jq -r .Credentials.AccessKeyId)
AWS_ACCESS_KEY_ID=$(echo $AWS_TEMP_CREDS | jq -r .Credentials.SecretAccessKey)
- Now, you should be able to get objects from your S3 bucket using the AWS CLI.
aws s3 cp s3://<bucket>/<key> ./
Note: You can also use various AWS SDKs to do the equivalent of the AWS CLI. Amazon provides a list HERE.
The bottommost reference addresses a common error associated with using Web Identity temporary credentials and Amazon provided SDKs.